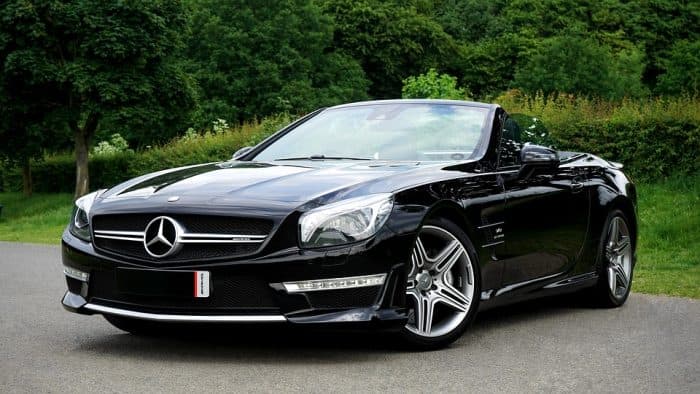
How To Clean Your Black Car
You went to buy a new vehicle and a glossy black car on the showroom floor caught your eye. Not surprisingly maintaining that flawless pitch black finish isn’t easy. You may have tried using a variety of products from the car section of Walmart to only end up leaving swirl marks and minor scratches. It could be the products or the wrong application that caused the damage. This is frustrating after either using a paintless dent repair technician, contacting us, or DIY paintless dent removal to only cause more unsightly marks. Don’t worry, our promise is that you’re satisfied with your customer service as a whole. We will walk you through in this blog on how to clean your black car and get the right results.
You’ll need:
- (1) mitt designed for car washing
- (2+) microfiber cloths for drying and buffing
- (2) large buckets filled with water
- (1) garden hose with adjustable sprayer or car washing attachment
- (1) detailing clay bar
- (1) car shampoo
- (1) automotive detailing spray
Remember if you want it done right the first time to contact your paintless dent repair technician or us at 714.742.0520 for recommendations or quotes.
Step 1: Rinse The Surface
Obviously we have to start with a clean car. Early in the morning wash your vehicle exterior and never wash it immediately after a long drive. The car should be cool to the touch to avoid leaving spots. With the garden hose and attachment begin pre-rinsing the entire vehicle to loosen any dirt. Skipping this step could lead to scratching the paint when washing with the mitt. If using a pressure washer be careful to not scratch the paint. Be as gentle as possible.
Step 2: Prep Liquids
Fill the 2 large buckets with water. We’ve heard from other car enthusiasts that distilled water is an inexpensive option that won’t leave mineral spots like tap water. In one bucket add your car shampoo. Make sure to read the instructions carefully to know the proper concentration. Leave the other bucket with water only.
Step 3: Mitt Scrubbing
Now it’s time to use the mitt. Place your washing mitt on your hand and dip it into your soapy water bucket. Then with the soapy mitt begin scrubbing the vehicle in circular motions from top to bottom. This is a fun time to pretend you’re learning from Mr. Miyagi from Karate Kid, “wax on, wax off”. You’ll be working in sections so be sure to periodically rinse the mitt in clean water before dipping it in the soapy water again. Be sure to overlap as you go to guarantee a consistent clean. If you notice the water is very dirty then repeat step 2, rinse the mitt in running water, and continue.
Step 4: Rinse Again
Using cool water rinse your vehicle. Be careful and check the pressure so you don’t scratch the paint. You’ll want to quickly dry the car from top to bottom using the microfiber cloths. We recommend having a helper at this point to guarantee the water doesn’t dry in spots and leaving spots.
Step 5: Clay Bar To The Rescue
Grab your clay bar and flatten with your hands. You want it to be easy to use as you rub it over the entire surface of the car. This will help you remove the grime and pollutants that have stuck to the paint. You’ll notice a big difference from merely washing your car and it really being cleaned.
Step 6: Final Step
You’re almost there to having the pitch black glossy finish you remember from that show room. Now spray a small area with your detailing spray and immediately buff that section with a clean microfiber cloth. You’ll want to buff it in a figure eight pattern. Make sure to work from top to bottom, overlapping sections, and to completely buff all the spray off. This step is important but done incorrectly can leave an unseemly finish. Detailing sprays contain wax filler that helps erase the appearance of fine scratches so you can only imagine, or see if you don’t take your time to do it right, the look when not buffed out completely.
Woohoo, your glossy black beauty is back!
You may also enjoy our other blog posts about paintless dent repair and more.


